Saturday 31 May 2014

A Walk on the Dyed Side


Hello again!


I bought this bog standard white maxi dress ages ago for a friend's wedding. It was a  ceremony that required me to wear a long dress (I didn't own any!!! so panicked and bought this) but have never worn it since.


Yup, that's it


But I've been seeing a lot of tie dyed maxi dresses recently that have been catching my eye and thought it can't be that hard!

So I googled - and this is the particularly great tutorial that I found (I even created my own washing soda (once I worked out what it was!)) .....


I prepared the fabric in a solution of pre-dye wash for two hours and then got to the tie bit of the tie dye. I knew I wanted a circle in the bottom corner (so used a stone) and then the vertical concertina fold and scrunches for the rest of the dress. Thus, I tied so.....


I then got a box of Dylon dye and used two teaspoons (and the corresponding amount of salt) with hot water into a travel toiletries bottle and started to squirt the dye into the dress. This was loads of fun!! The tutorial had said that one common mistake was not adding enough dye, so I just kept covering the odd ball that the dress had become until I couldn't see any more white. I figured I'd prefer it more black than white anyway and that the tied bits would stay white (i.e. work!!!!)


I put it in a plastic bag, left it on some card outside for twenty four hours and came back to it the next day. I washed out the dye and hung my dress out to dry.


Very happy with the end result!!!


What I really, really like about this project (as with all refashes) is that even though there are loads of tie dyed garments out there, this one is completely unique. This pattern never has and never will exist in exactly the same form again.


Thanks for reading!!


☽AliceSaysNo☾


Sunday 11 May 2014

From So So to Art Nouveau....

Sorry about the title, I couldn't help myself......

Things have been hectic, to say the least this last month, but before things went manic (in a good way!!!) I got myself over to Amsterdam to celebrate my birthday...

Happy birthday to me!


It's such a great city! I only saw two chain stores the whole time I was there. The place was full of small little independent shops, galleries and (this was the clincher), people opening up their basements and living rooms and just selling stuff! I was in op shopping heaven! I managed to score a very great fedora hat (my head is very small and I have been searching forever to find one that fits) for 10 Euro from a very colourful lady named Karen doing a dismal Aussie accent, and this......


An amazing print on what is a hand made maxi skirt. I fell in love instantly.

A closer look.....

Beautiful!!!
All for a fiver from an old guy selling everything from out of his living room. Brilliant!

This was perfect for a sixties-esque style dress that I had had in mind for some time. 

And, on the plus side, it was also going to be an easy refashion.

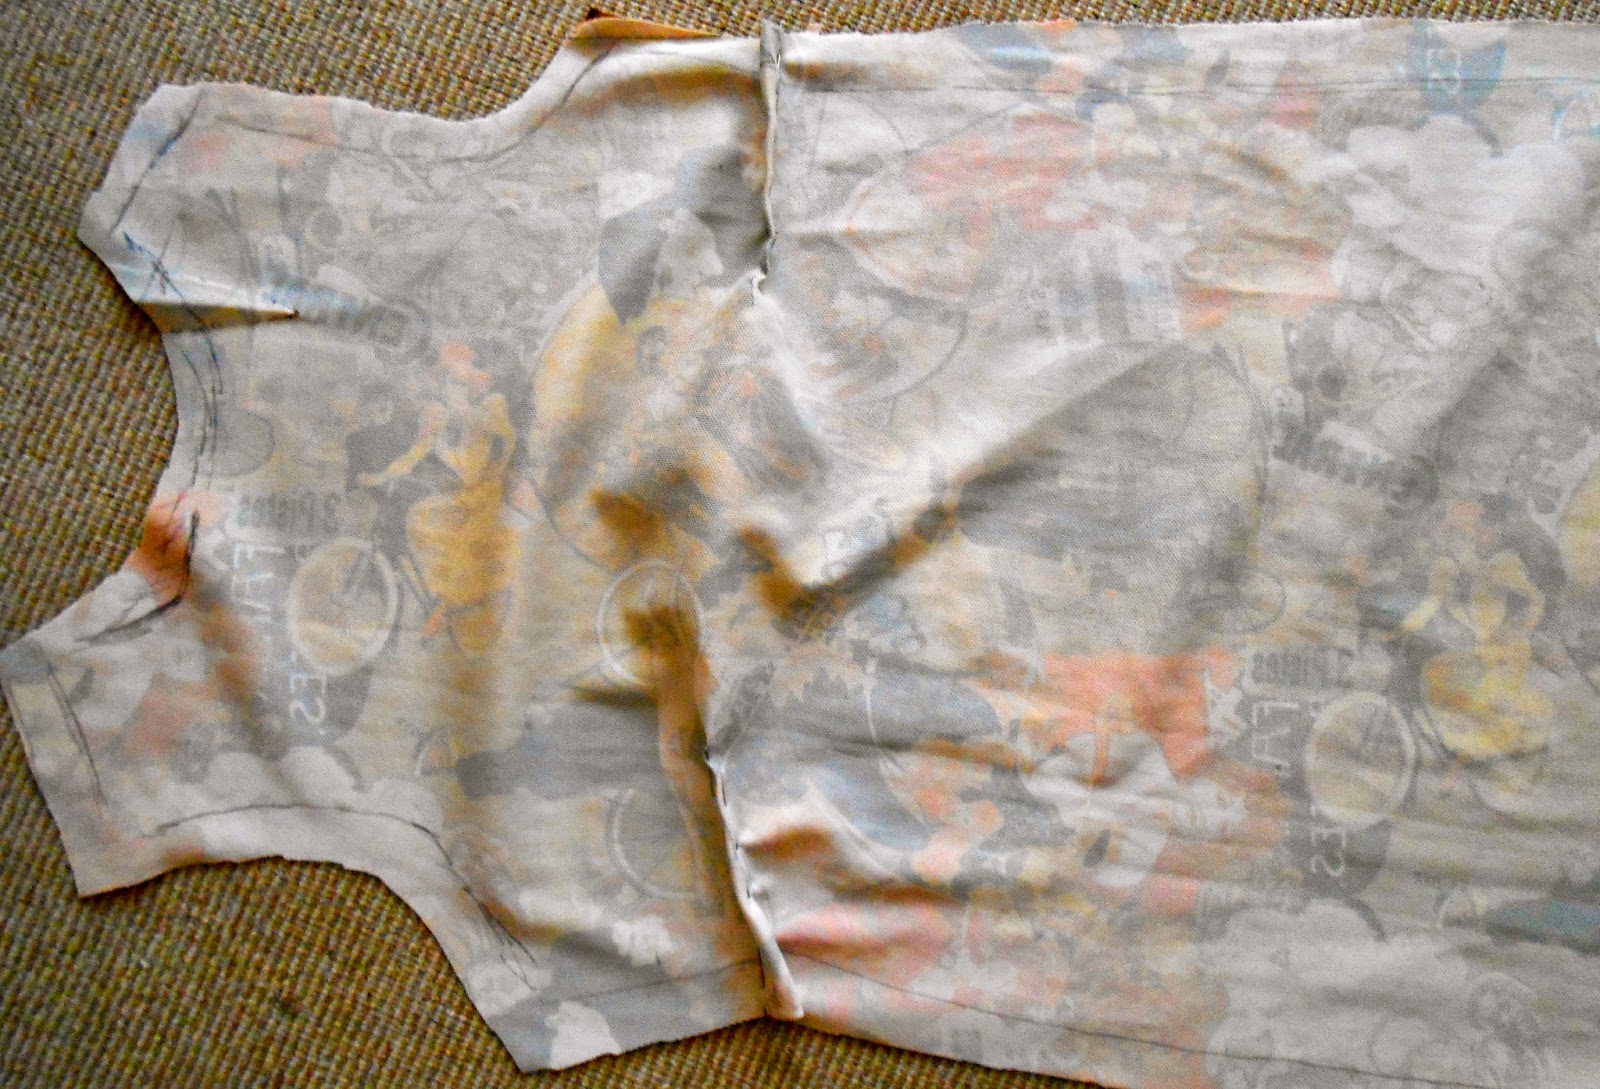
I started by unpicking the skirt and laying them out on the floor, thus eliminating any seams. It was a 70s rayon material with a slight stretchiness, which worked for me (I didn't need to put a zip in!).

I lay a slip over the top that was the right structure for the garment I wanted and fitted me perfectly. I cut out the two pieces, keeping in mind that I was going to dart the bust and needed an inch of seam around the whole garment - I kept the original hem around the bottom.


I then hemmed the neck and sleeves and stitched two darts on either side of the garment at the bust.


I popped it onto my dress form to check both whether it needed a zip (it didn't - hurrah!!) and that it fit well. As both were positive, I stitched the hems together, did a quick zigzag 'overlock' and it was done! I wore it to my leaving drinks on the last day of my old job (but sadly forgot to take any pictures!).

These are picci's of the finished dress before I headed out....


Thanks for reading!

 ☽AliceSaysNo☾